How to change the DNS settings on your Windows 10 PC / Laptop
DNS Servers that are public
8.8.8.8
8.8.4.4
1.1.1.1
1.0.0.1
208.67.222.222
208.67.220.220
- Go to the Control Panel
- Click on Network and Internet

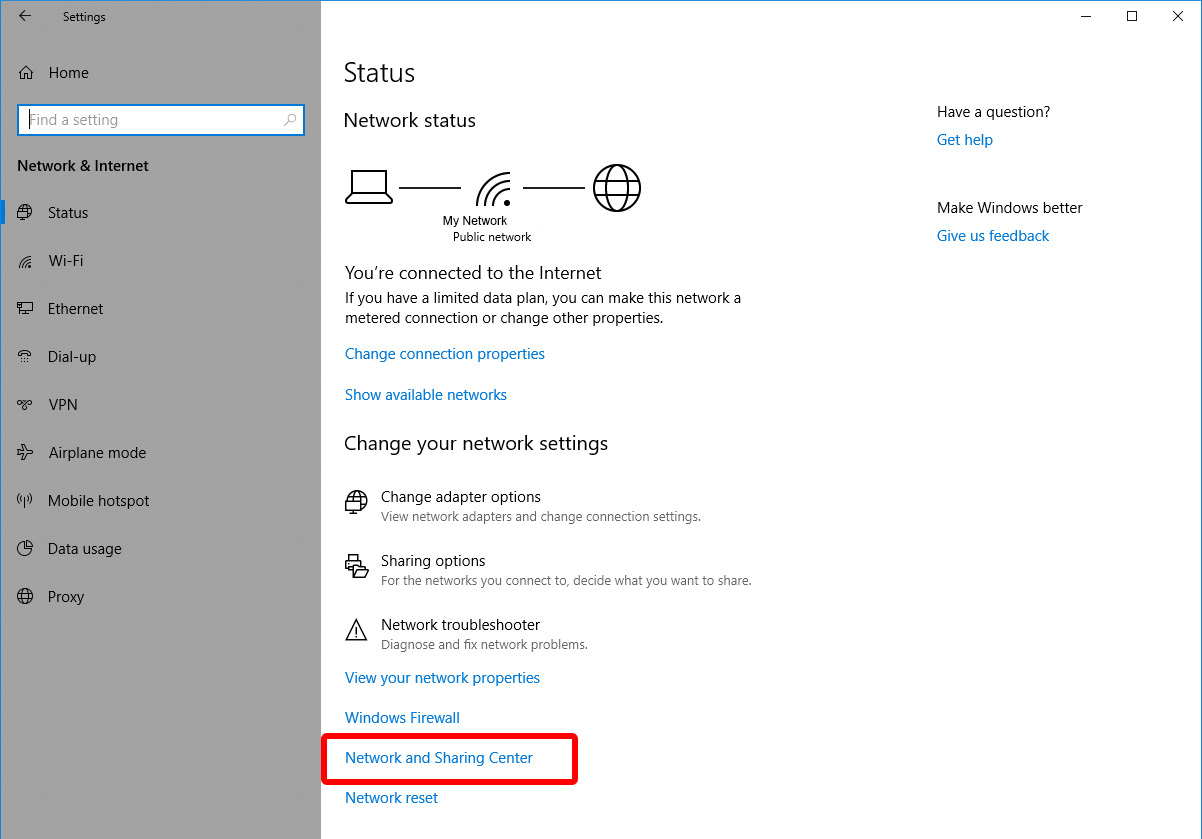
- Click on Network and Sharing Center

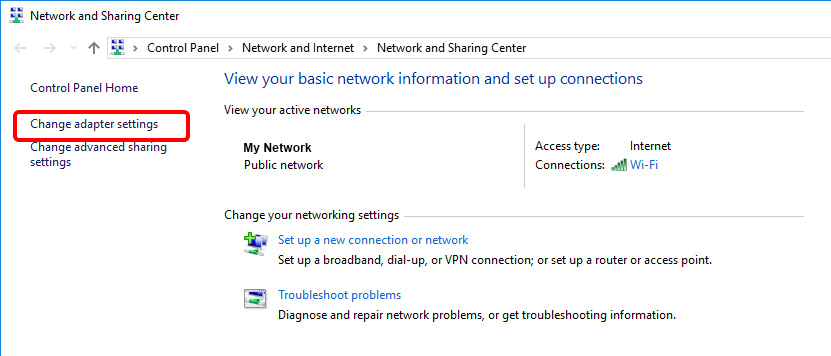
- Go to Change Adapter Settings.

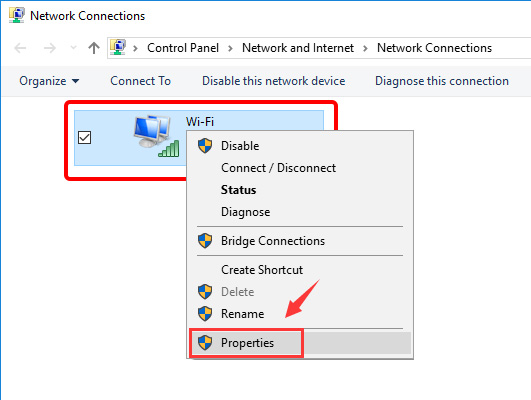
- You’ll see some network icons here. Select the network you’re currently connected to and right click on it. Select Properties.

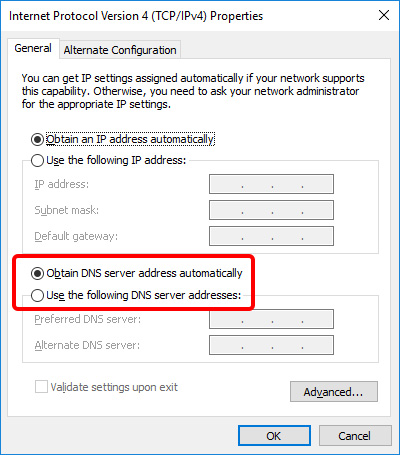
- Click on IPv4 and select Properties.

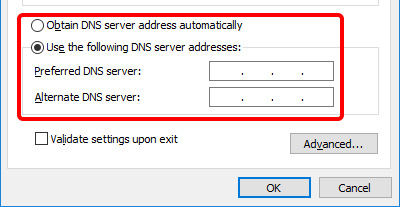
- If “Obtain DNS server address automatically” is selected, click the radio button next to “Use the following DNS server addresses:”

- Now enter the DNS addresses you want to use.

- Click on Ok and Close.


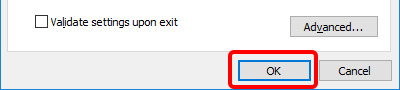
Your DNS settings are now changed on your Windows 10 PC.